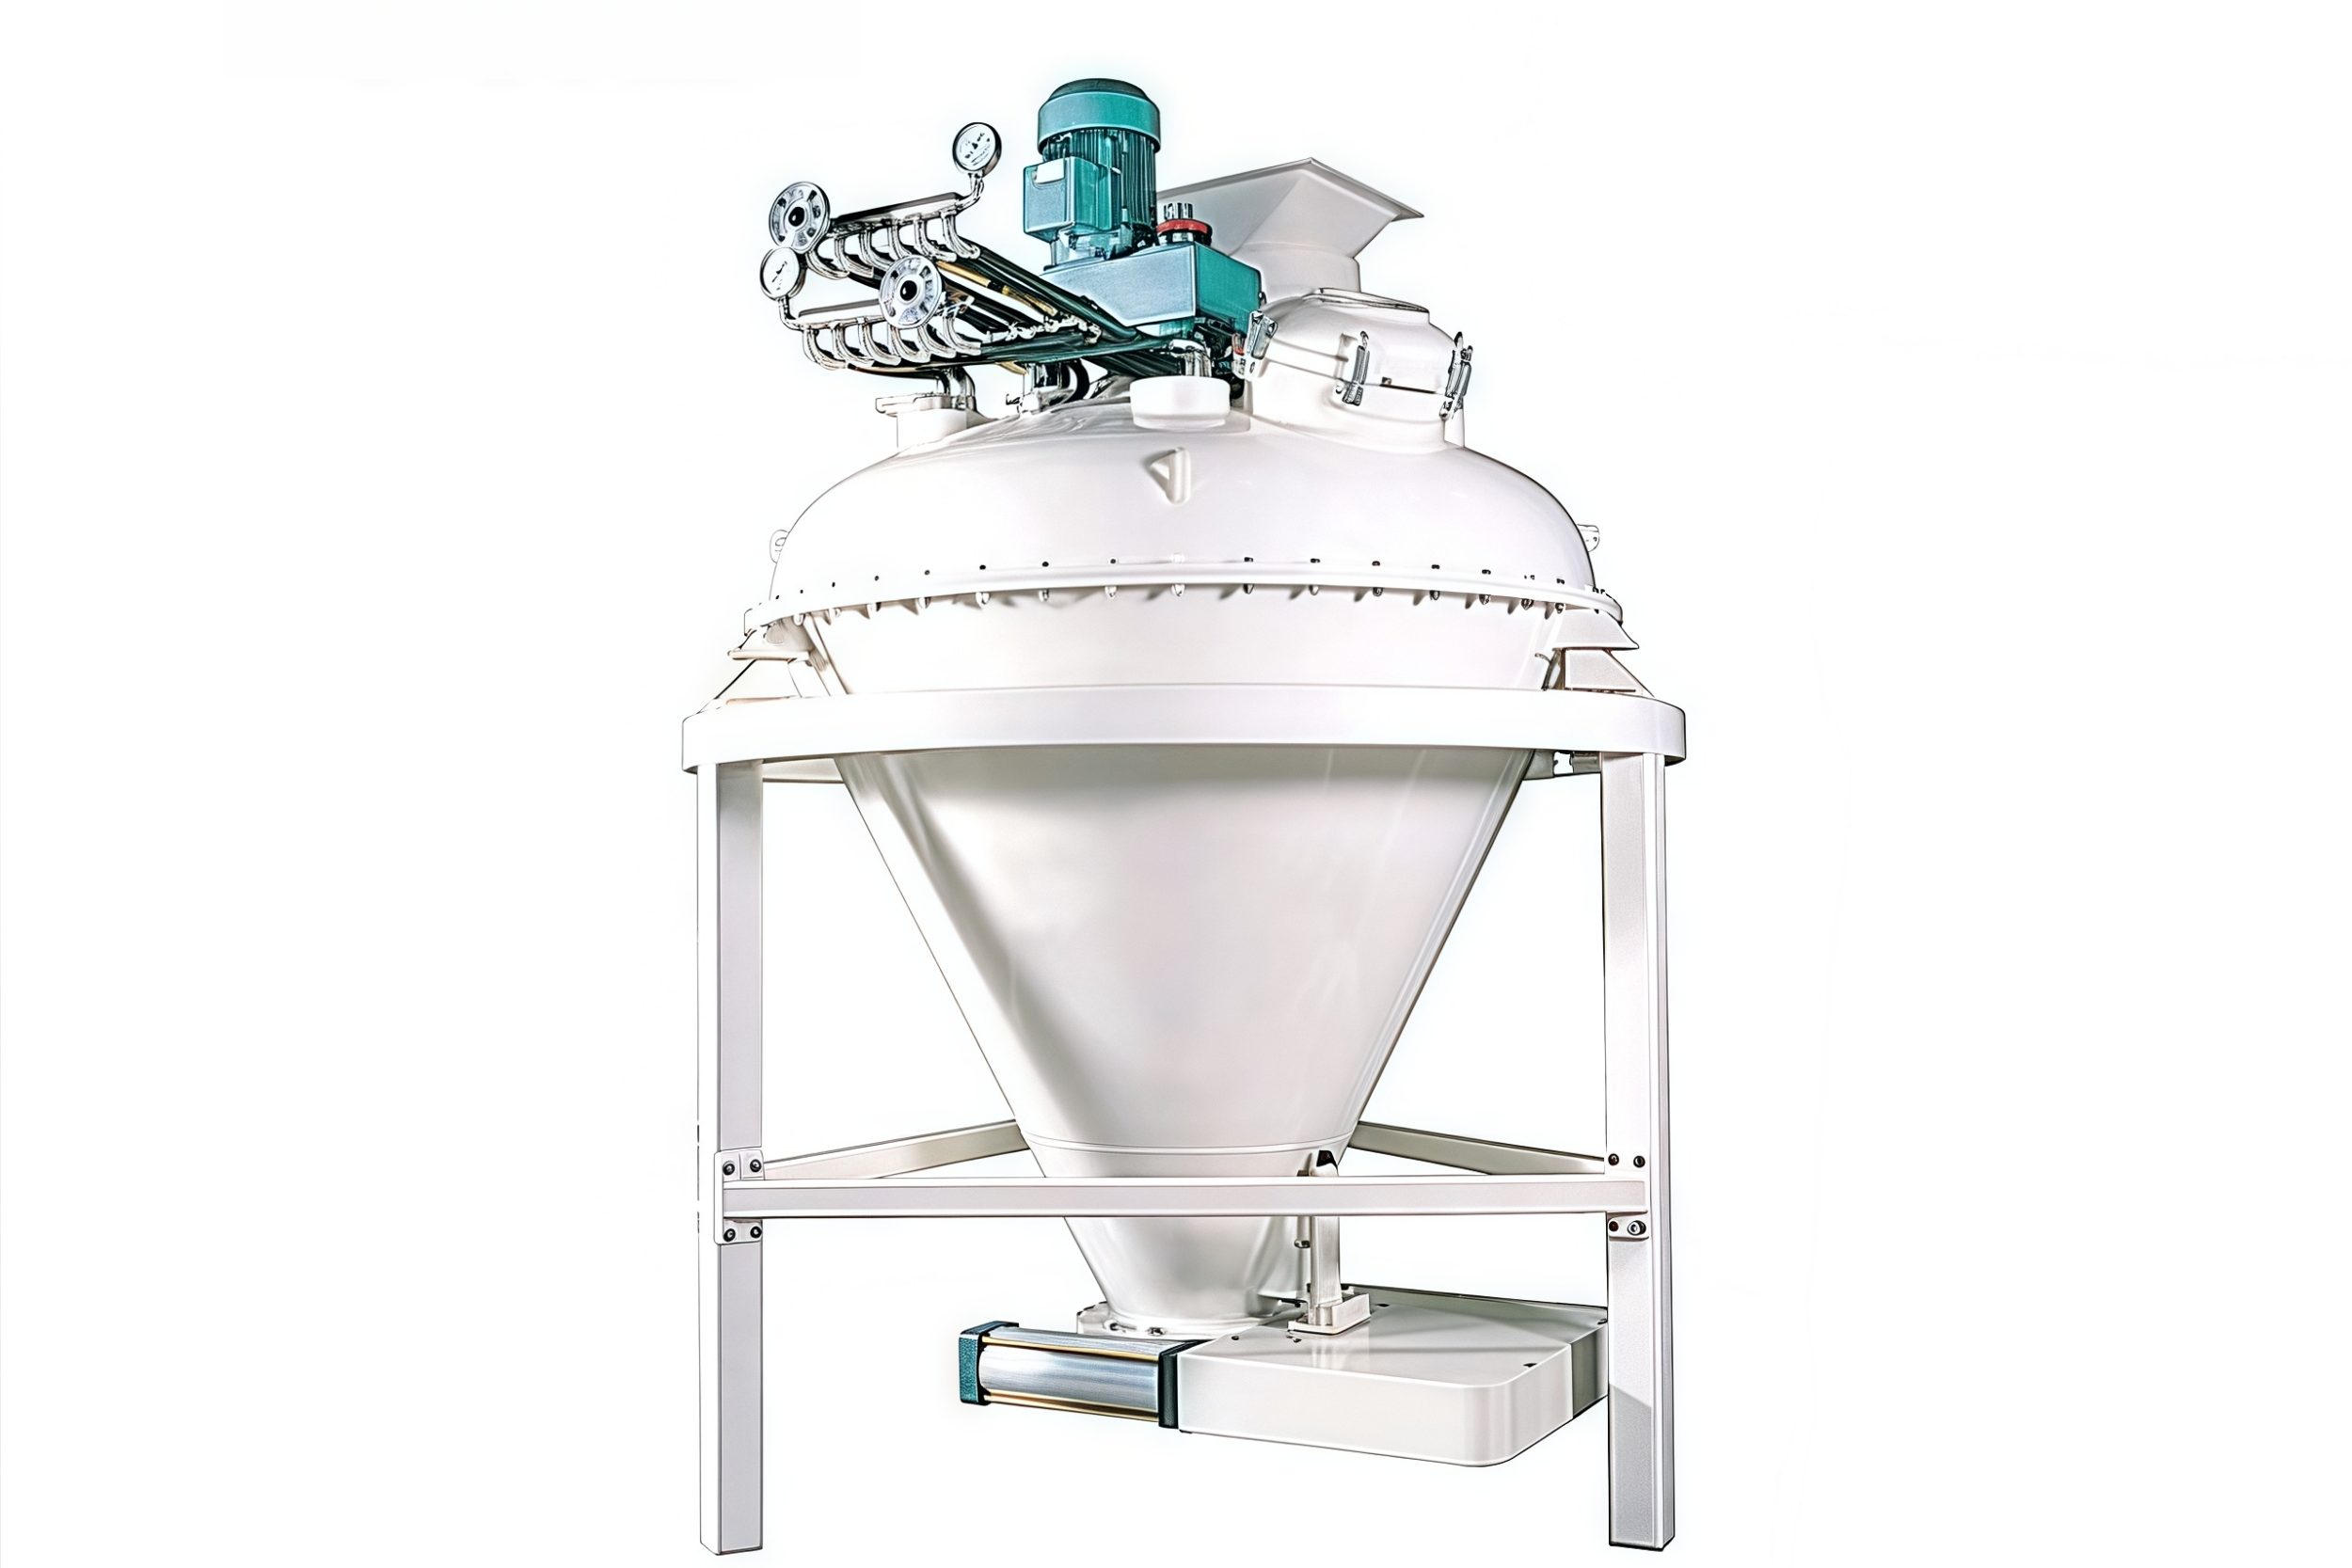

1 Purpose: To establish operating procedures for the pulverizer and ensure standardized operation.
2 Scope: Applicable to the operation and safety protocols for the pulverizer.
3 Responsibility: Pulverizer operator.
4 Content:

4.1 Pre-startup Preparation
4.1.1 Based on the required particle size specifications for raw materials and finished products, and in accordance with the specific pulverization process configuration, select and determine the appropriate aperture size for the pulverizer screen, and ensure it is correctly installed.
4.1.2 Open the access doors on both sides of the pulverizing chamber. Verify that the screen plate is intact, properly installed, and securely fixed with no gaps. Ensure the hammers are in good condition and rotate freely. Check that the rotor spins smoothly without any signs of jamming, collision, friction, or abnormal noise.
4.1.3 Inspect the pulverizing chamber for any residual material or foreign objects; remove them if present. Close the access doors, secure the locking mechanisms, and verify that the door safety interlocks are functioning correctly.
4.1.4 Inspect the cylinders, solenoid valves, directional control valves, door safety limit switches, and all connecting components associated with the feed hopper/bin to ensure there are no loose parts.
4.1.5 Verify the direction of rotation (forward/reverse) of the pulverizer and the orientation of the material guide plates, ensuring that the flow of material aligns with the direction of the pulverizer’s rotation.

4.2 Operating Steps
4.2.1 Starting the Equipment: Ensure that downstream equipment is operating smoothly and that safety for both personnel and machinery is guaranteed before starting the pulverizer (the aspiration/dust collection system should be started first). Run the machine empty for 2–3 minutes to observe its stability, check for any abnormalities, and verify that the no-load current is within the specified range. Once everything is confirmed to be normal, begin feeding material. The aspiration system must be fully operational before feeding commences. 4.2.2 During operation, the material feed rate should be adjusted to keep the crusher’s operating current within 80%–95% of its rated value. Feeding must be consistent—avoid sudden fluctuations—to ensure the motor operates within its rated load. Brief periods of overload are permissible, provided they do not exceed 5 seconds.
4.2.3 Throughout the operation, regularly inspect the processed material to ensure its particle size meets the specified process requirements. If whole or oversized particles are detected, stop the machine and check the screen for damage and the frame seal for proper fit. Replace any damaged components or faulty seals immediately.
4.2.4 Shutting down the equipment: Upon completion of work, first deactivate the feeding mechanism to stop the material flow. Allow the crusher to continue running for 1–2 minutes until all material inside has been processed and discharged, and the current has dropped to the no-load level. Only then should the main crusher motor be turned off. Wait another 2–3 minutes before deactivating the dust collector’s pulse system and the discharge screw conveyor; this ensures the filter bags are effectively cleaned.

4.3 Operational Precautions
4.3.1 The crusher must be started under no-load conditions; starting the machine while under load is strictly prohibited.
4.3.2 In the event of a power outage or an unexpected shutdown during operation, open the access doors on both sides of the crushing chamber before attempting a restart. Inspect and clear any remaining material from the machine. Once it is confirmed that the machine is empty, close the access doors and follow the standard startup procedure to resume operation.
4.3.3 It is strictly forbidden to open the crusher’s cover plate while the machine is running. If access is required, the machine must first be shut down and brought to a complete stop. Before proceeding, place warning signs such as “Do Not Switch On” or “Do Not Start” at the controls. If necessary, disconnect the power supply to the main crusher motor. 4.3.4 When inspecting or replacing wear parts such as screen plates or hammer blades, the power supply must be disconnected before opening the access doors on either side of the crusher. Warning signs—such as “Do Not Switch On” or “Do Not Start”—must be displayed to ensure the safety of both personnel and the equipment.
4.3.5 If the crusher exhibits intense vibration or abnormal noise during operation, it must be shut down immediately for inspection. The cause must be identified and the fault resolved before the machine can be restarted following the correct procedures.
4.3.6 To ensure the proper operation of the crusher, do not use wear parts (such as hammer blades or screen plates) manufactured by unauthorized or substandard suppliers. Using such parts can reduce crushing efficiency, cause machine vibration, increase noise levels, raise operational costs, and compromise the safety of the equipment.
4.4 Post-Shutdown Procedures
4.4.1 After shutting down the crusher, inspect the unit and address any identified issues promptly.
4.4.2 Clean any magnetic impurities from the magnetic plate at the crusher inlet or from the feeder.
4.4.3 Clean the crusher and the surrounding area.
4.4.4 Gather all tools and materials and return them to their designated storage locations.
4.4.5 Accurately complete the crushing operation records and carry out the shift handover process.

4.5 Routine Maintenance and Servicing
4.5.1 Operate the equipment strictly according to the established procedures. During each shift, perform necessary inspections and cleaning; specifically, the magnetic separation equipment at the crusher inlet must be thoroughly cleaned by the operator.
4.5.2 Every six months, the bearings of the crusher (including the motor) should be disassembled, cleaned, and re-lubricated with fresh grease. When applying grease, fill the bearing housing to only 1/2–3/4 of its capacity. Monitor bearing temperatures during daily operation to prevent prolonged running at high temperatures, and add lubricant as needed.
4.5.3 Promptly repair or replace any machine components that are damaged or show significant wear. If the rotor assembly (excluding the pins and hammer blades) is disassembled for parts replacement, it must undergo a dynamic balance check before the machine is reassembled and started.
4.5.4 If the machine is to remain idle for an extended period, it should be thoroughly cleaned both inside and out—removing all oil, grease, and accumulated material—and the screen plate should be taken out to prevent the machine from rusting and the screen apertures from becoming clogged.